Connecting a garage door opener may seem simple, but common mistakes can lead to later problems. This comprehensive guide provides detailed, step-by-step instructions for linking your garage door opener with remote controls, keypads, and in-car systems like HomeLink.
Proper installation is essential for your garage door system’s long-term functionality and reliability. This guide will cover specific steps and highlight common pitfalls to avoid during the connection process, helping you achieve a seamless setup.
By carefully following these instructions, you’ll prevent typical errors that could disrupt your garage door’s operation. Whether you’re an experienced DIYer or a first-time installer, our tips will guide you in correctly and efficiently connecting your garage door opener, ensuring smooth and reliable performance.
Why Connect a Garage Door Opener?
Convenience and Ease of Access
Connecting your garage door opener to devices like remotes, keypads, or your car’s HomeLink system offers unmatched convenience. Quickly open or close your garage door without leaving your vehicle or manually lifting the door, making it especially useful during bad weather or when you’re in a rush.
Enhanced Security
A connected garage door opener boosts security with features like rolling code technology, which changes access codes with each use. Keyless entry and smartphone connectivity allow remote monitoring and control, ensuring your garage and home remain secure.
Integration with Smart Home Systems
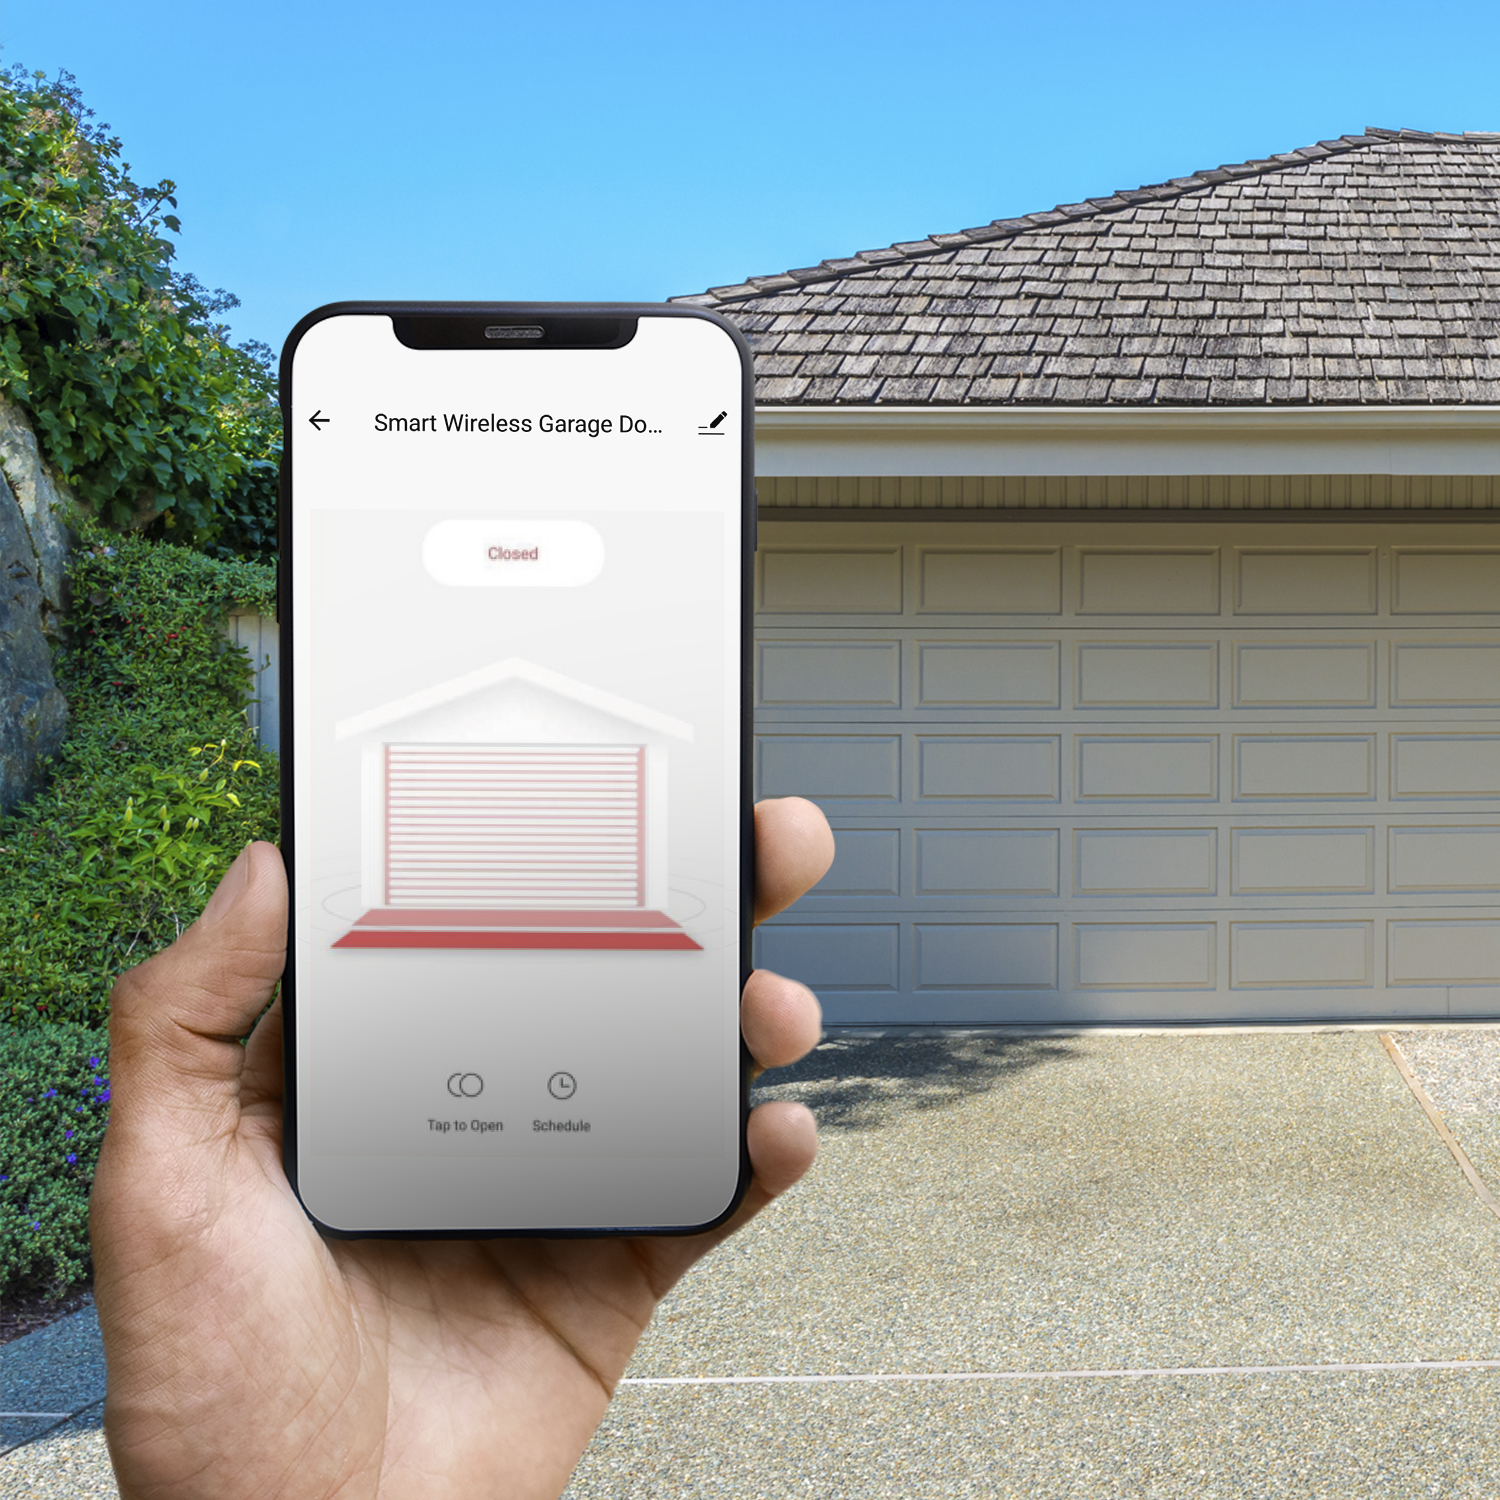
Integrating your garage door opener with smart home systems lets you control it via smartphone or voice commands. You can check its status from anywhere, receive alerts if left open, and automate its operation based on your location or schedule.
Safety and Maintenance
Connecting your garage door opener to your home network enables regular updates and maintenance alerts. Smart openers can notify you of operational issues, required maintenance, or obstructions, helping you address problems before they escalate and ensuring safe operation.
Increased Property Value
Homes with smart features, including connected garage door openers, are more attractive in the real estate market. These modern conveniences and security features can increase your property’s appeal and value.
Energy Efficiency
Connected garage door openers contribute to energy efficiency by integrating with other smart home devices. For example, they can automate the door closing when no one is home, helping maintain home temperature and reducing energy consumption.
Peace of Mind
Remote control and monitoring of your garage door provide peace of mind. Whether at work, on vacation, or away for a few hours, you can check the door’s status and control it remotely, ensuring it’s always secure.
Steps
Programming your garage door opener involves different methods depending on the type of device you’re using. Below, we provide detailed steps for programming a handheld garage door remote, a garage door keypad, and your car’s HomeLink garage door opener. Each category includes a step-by-step guide to ensure your garage door opener is set up correctly and functions smoothly.
How to Program a Handheld Garage Door Remote
Programming a handheld garage door remote lets you control your garage door with a button. Follow these steps to ensure your remote is set up correctly.
Step-by-Step Guide to Programming a Handheld Garage Door Remote
- Prepare the Remote: Ensure you have fresh batteries in your remote control. Using new batteries ensures that the remote will transmit signals effectively.
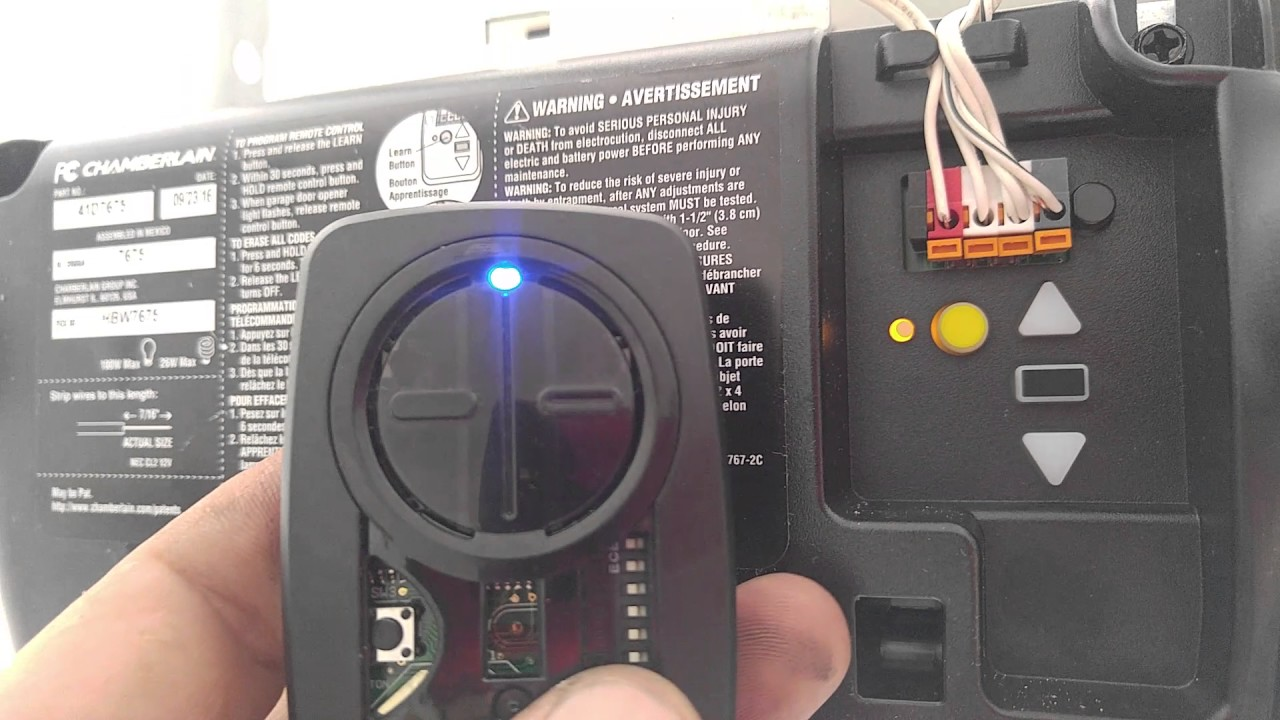
- Locate the Learn Button: Look for the “Learn” button on your garage door opener motor. It is usually located on the back or side of the motor unit.
- Activate the Learn Mode: Press the “Learn” button until the LED light next to it turns on. This indicates the opener is in programming mode.
- Program the Remote: Within 30 seconds, press and hold the button on the remote you want to program. Hold it until the opener light blinks or you hear a click, indicating successful programming.
- Test the Remote: Press the programmed button on the remote to ensure the garage door responds correctly. If the door still doesn’t respond, go through the steps again.
How to Program a Garage Door Keypad
A garage door keypad provides keyless entry to your garage, adding convenience and security. Here’s how to set up your garage door keypad.
Step-by-Step Guide to Programming a Garage Door Keypad
- Access the Keypad: Make sure the keypad has fresh batteries and is within reach. Functioning batteries are crucial for successful programming.
- Locate the Learn Button: On your garage door opener motor, locate the “Learn” button. This button puts the opener into programming mode.
- Enter Programming Mode: Press the “Learn” button on the motor until the LED light turns on.
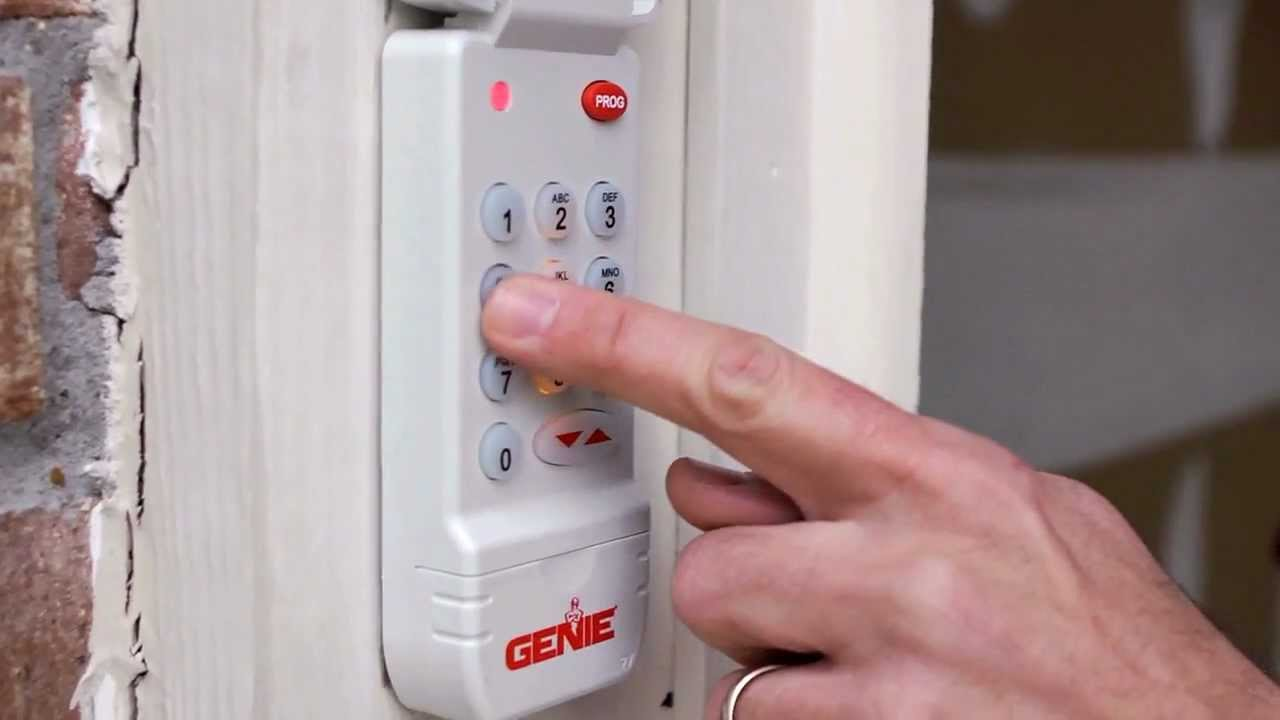
- Set the Keypad Code: Within 30 seconds, enter a new 4-digit PIN on the keypad, then press the “Enter” button. The motor unit light should blink, indicating successful programming.
- Test the Keypad: Enter the new PIN on the keypad and press “Enter” to ensure the garage door opens. If it does not, repeat the process.
How to Program Your Car’s HomeLink Garage Door Opener
Many modern vehicles come equipped with HomeLink, a built-in remote control system for garage doors. Programming this system can streamline your access to your garage.
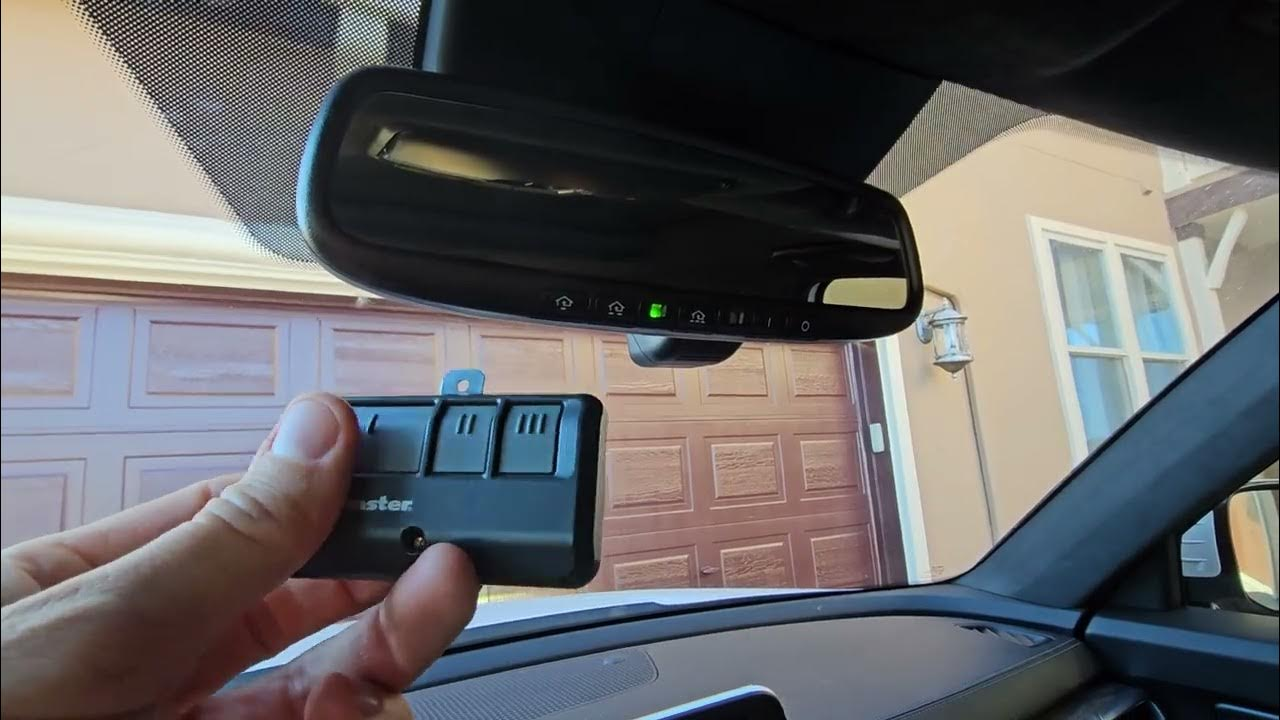
Step-by-Step Guide to Programming a Car’s HomeLink Garage Door Opener
- Clear Existing Codes: If your HomeLink system has been previously programmed, clear the existing codes by holding the two outer buttons until the indicator light begins to flash (about 20 seconds).
- Prepare the Remote: Hold the garage door remote close to the HomeLink button you wish to program.
- Program the HomeLink Button: Press and hold both the remote and desired HomeLink buttons until the HomeLink indicator light changes from slow to rapidly blinking.
- Activate Learn Mode on Opener: Press the “Learn” button on the garage door opener motor to put it into programming mode.
- Complete Programming: Return to the car within 30 seconds and press the programmed HomeLink button twice. The garage door should now respond to the HomeLink button.
Tips for Successful Garage Door Opener Programming
Ensuring your garage door opener functions correctly requires attention to detail and regular maintenance. Follow these tips to keep your system in top shape.
Key Tips
- Safety First: Always disconnect the power to the garage door opener before performing any maintenance or adjustments. This prevents accidents and injuries.
- Check the Manual: For specific instructions related to your garage door opener’s model, refer to the user manual. Manuals often provide troubleshooting tips and detailed instructions.
- Keep Remotes Secure: Store remotes in a secure location to prevent unauthorized access. This enhances the security of your home.
- Regular Maintenance: Periodically check and replace the batteries in your remote controls and keypads to ensure consistent operation. Low batteries can lead to unresponsiveness.
- Test the System: Regularly test the remote, keypad, and in-car systems to ensure they work correctly. This helps identify and fix issues promptly.
Expert Q&A on How to Connect Garage Door Opener
How do I connect my garage door opener to my garage?
To connect your garage door opener, start by securely mounting the opener unit to the ceiling following the manufacturer’s instructions. Next, attach the rail to the motor unit and the header bracket above the garage door. Finally, connect the opener arm to the garage door, ensuring all wiring is properly connected and the power source securely attached for optimal operation.
How do I connect my garage door to my controller?
To connect your garage door to the controller, locate the “Learn” or “Program” button on the garage door opener unit. Press this button, then within the next 30 seconds, press the corresponding button on your remote control or wall-mounted controller. The opener light will blink, or an audible click will confirm the successful connection, indicating that the controller is now paired with the opener.
How to reconnect a garage door opener?
To reconnect your garage door opener after a garage door repair, first, pull the emergency release cord to disengage the trolley from the opener carriage. Then, manually move the door until it re-engages with the trolley mechanism. Once the door is securely reconnected, press the opener button to test its functionality. If the door doesn’t operate smoothly, consult the user manual for troubleshooting tips or contact a professional technician for assistance.
How does a garage door opener attach to the door?
The garage door opener attaches to the door via a curved arm that connects to the trolley. The trolley moves along a rail driven by the opener motor. Secure the curved arm to the door bracket using bolts and nuts, ensuring it is firmly fastened to provide smooth and reliable operation. This connection allows the motor to open and close the door efficiently.
How do I connect my garage door opener to Wi-Fi?
Download the manufacturer’s app on your smartphone to connect your garage door opener to Wi-Fi. Follow the app’s instructions to link the opener to your home Wi-Fi network. Typically, this process involves pressing the “Learn” button on the opener and entering your Wi-Fi network credentials into the app, allowing remote control and monitoring of the garage door from your smartphone.
Conclusion
Connecting your garage door opener components is essential for the seamless operation of your new garage door system. Whether you’re programming a handheld remote, a home keypad, or your car’s HomeLink system, following these steps will help you do the job safely and effectively. Always prioritize safety, keep your devices well-maintained, and consult your user manual for model-specific instructions.
Regular maintenance, such as checking battery life and testing functionality, ensures longevity and reliability. Integration with smart home systems can further enhance convenience and security. By adequately connecting and maintaining your garage door opener, you can enjoy effortless access and peace of mind knowing your garage is secure. Embrace these practices to keep your garage door opener functioning optimally, providing hassle-free and safe entry to your home.
End Note
Thanks for sticking with us through this guide on correctly connecting your garage door opener! At Protech Garage Doors, we’re all about making your life easier and your home more secure. By following the steps we’ve outlined, you can avoid common pitfalls and enjoy a smoothly functioning garage door system.
For more helpful tips and expert advice, be sure to visit our Blog, where we regularly share insights to keep your garage door in top shape. If you’re considering a new installation or need professional help with your garage door system, check out our New Garage Door Installation services or explore our range of Garage Door Openers.
Curious to see the quality of our work? Our Gallery showcases some of our recent projects, highlighting the craftsmanship we bring to every job. And if you’re in Noblesville or the surrounding area, our dedicated Garage Door Services team is ready to assist with any repair or maintenance needs.
Whenever you’re ready to enhance your garage door experience, don’t hesitate to reach out via our Contact Us page. At Protech Garage Doors, we’re here to ensure your garage door opener is connected correctly, efficiently, and securely, providing you with peace of mind every time you use it. Let’s keep your garage door working smoothly together!